The Cinematography of "Legend of the Guardians"
Introduction
When CG Supervisor and old colleague Aidan Sarsfield first approached me to work as Lighting and FX Department Supervisor on "Legend of the Guardians" he sold the film to me as "owls in bondage gear". Apparently that was enough for me to uproot myself and my family from Los Angeles and to return to Sydney and to Animal Logic to embark on a two and a half year journey to help realize the film.
Seriously, though, from the start it was clear that this was a film that was going to have the potential for stunning visuals - and great technical challenges.
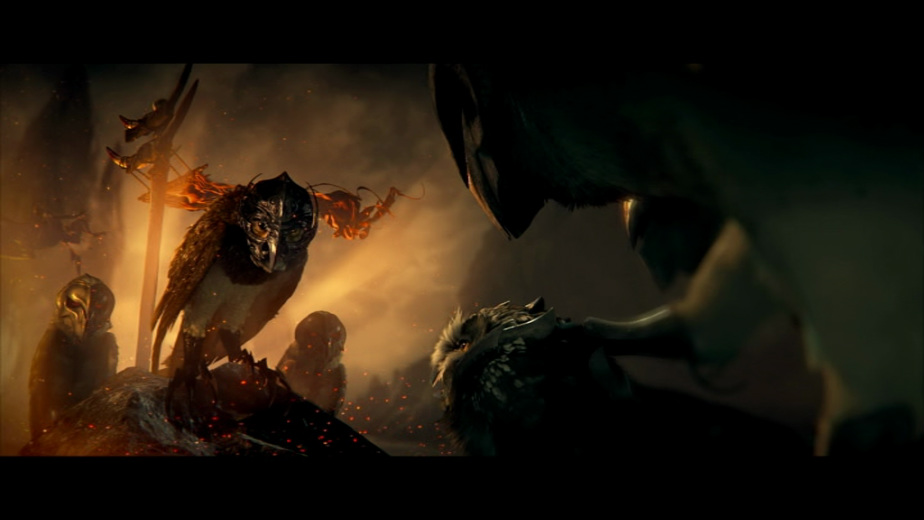
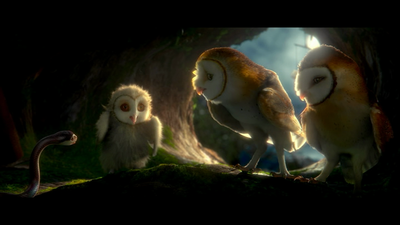
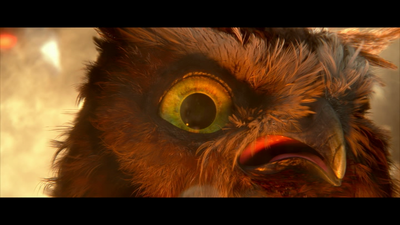
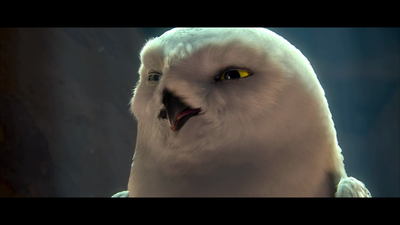
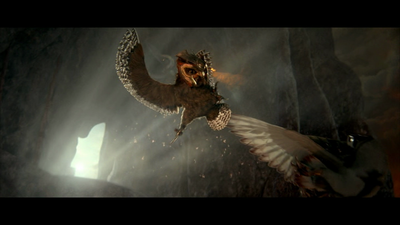
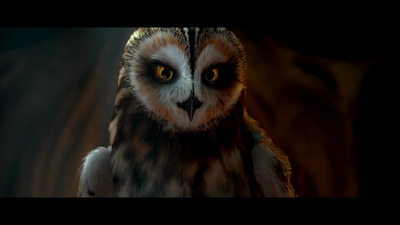
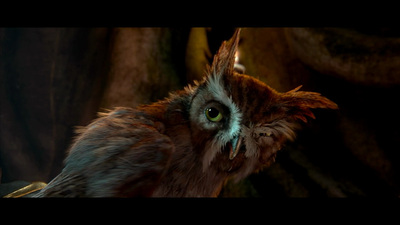
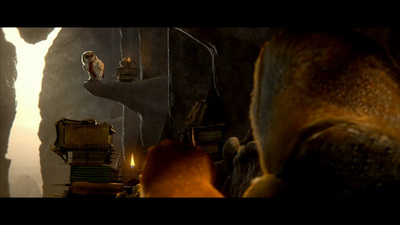
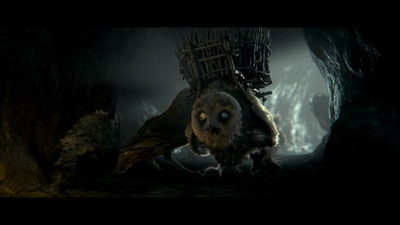
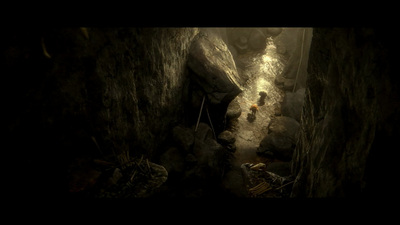
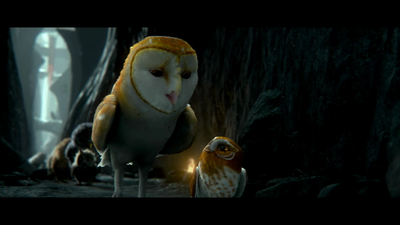
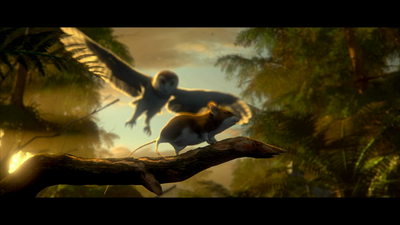
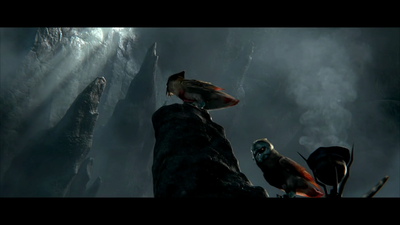
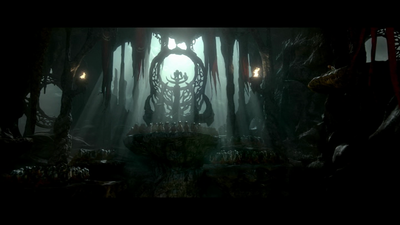
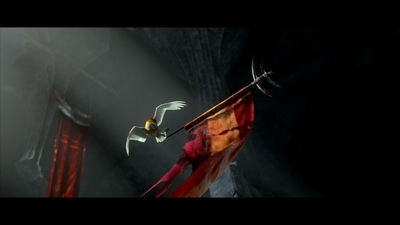
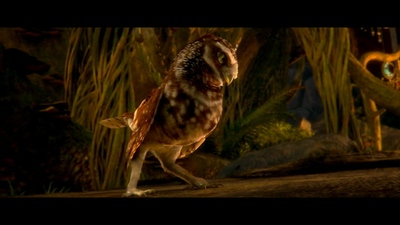
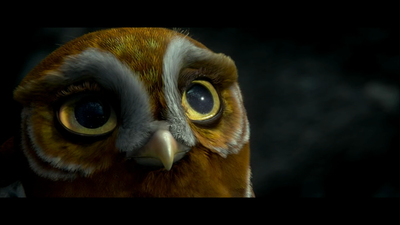
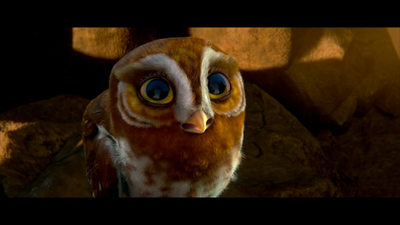
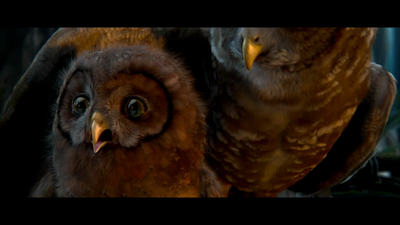
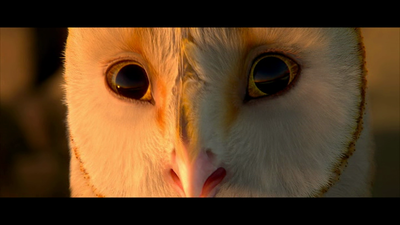
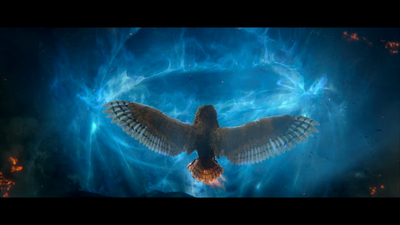
The film is derived from Kathryn Lasky's series of books called "Guardians of Ga'Hoole", and the decision was taken early on to steer the film's aesthetic away from the cartoony towards the photoreal, but with an artistic overlay that would result in a stylized photorealism that was operatic, epic, and painterly. The lighting aesthetic was driven by the philosophy that the communication of drama and emotion was more important than maintaining a strict sense of naturalism or realism.
Art and Lighting
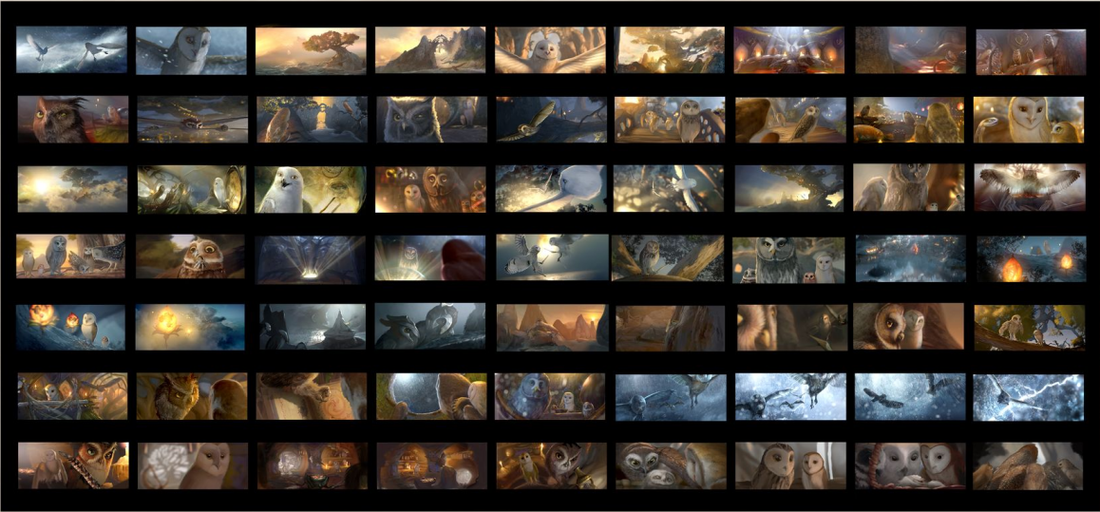
Long before the rendering of any of its constituent 3D computer graphic images, a CG animated feature is visualized, analyzed, discussed, and dissected by the Director, the Art Director and the Production Designer. The synthesis of these interactions is artwork that represents the aesthetic targets of the production.
Production Designer Simon Whiteley created or oversaw the creation of thousands of sketches and paintings that described the look of the world of Ga'Hoole....the tools the owls used, the details of their architecture, their heraldic devices, etc.....and this artwork that visually described the civilization of our owl characters was used to inform the creation of environments and props by teams of modelling and environment artists.
Most relevant to the cinematography of the film was the work of Art Director Grant Freckelton, who created and oversaw the creation of lookframes that represented the intent of the lighting, and also a Lighting Script that served as visual direction for the lighting of the entire film.
The visual development artwork was iterated upon and ultimately signed off on by Director Zack Snyder, at which point lighting could begin in earnest.
Keylighting was done with reference to the lookframes and Lighting Script, and the lighting setups then distributed to Shot Lighting Artists as starting points for dependent shots. Dailies sessions were run to assess and provide feedback on shots as they progressed. Ultimately, Grant was the one who signed off on each shot and deemed it "Final".
Moonlight and Sunlight
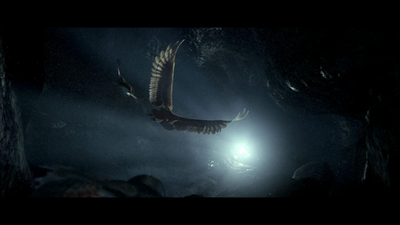
Since owls are nocturnal, the bulk of the film takes place at night or in the "magic hour" of dawn or dusk.
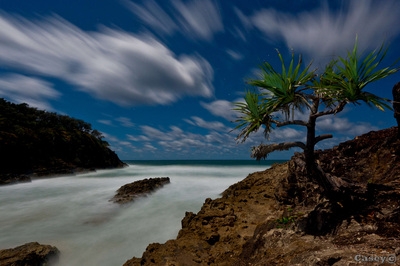
The moon was considered the Ga'Hoolian equivalent of the sun, with its exposure pushed well beyond what is typical in night time photography. Research of moonlit long exposure photography showed that, contrary to the typical cool representation of moonlight in cinema, the moon reflects warm sunlight, resulting in warm photographs with dense, hard shadows. Lunar shadows appear similar in hardness to solar shadows since the sun and the moon have approximately the same solid angle when viewed from Earth.
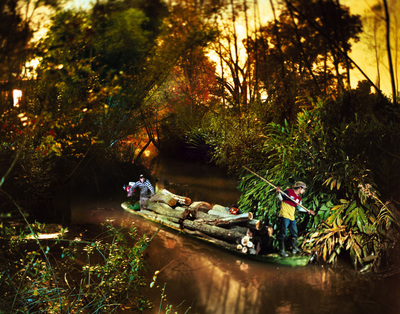
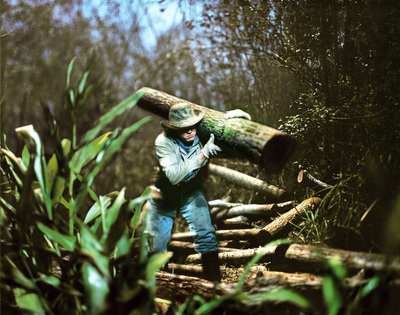
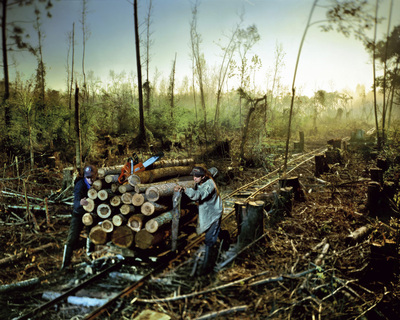
Here are some examples of long exposure moonlight photographs from Argentinian photographer Alejandro Chaskielberg and Australian landscape and nature photographer Luke Casey that show the phenomena described above.
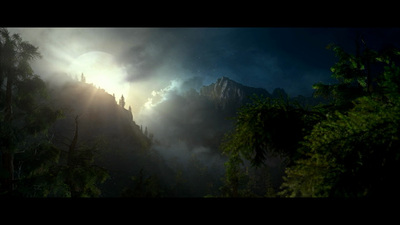
Some moonlight shots from Legend of the Guardians showing the moon as the "equivalent" of the sun:
The sequence in which Soren encounters the Guardians for the first time is a good example of the moon used as a sun equivalent, in this case to give an ethereal, magical sense of light breaking through a storm as a metaphor for revelation:
Scale
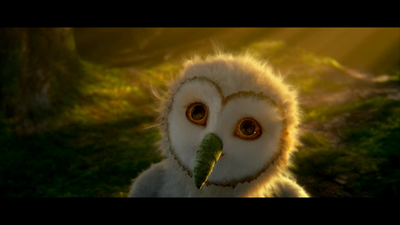
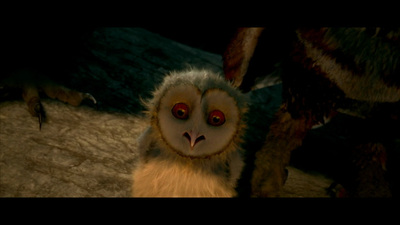
Scale was altered from reality for dramatic purposes. Although surfacing detail tended to imply our owls were small, the choice of lenses and subsequent depth of field was more akin to a human scale – as if Soren was 3 to 4 feet tall as opposed to the real barn owl scale of 1 foot tall. Background effects and surfacing tended to imply the birds were larger than reality. Detailing that is perceptible in a macro world, such as fine scratches on metal or grains of dirt, were present, but were scaled down. When the world was designed and lensed with a realistic scale, the story tended to feel small, cute and quaint. When the world was designed and lensed with a larger, more human scale, the story felt larger and more epic.
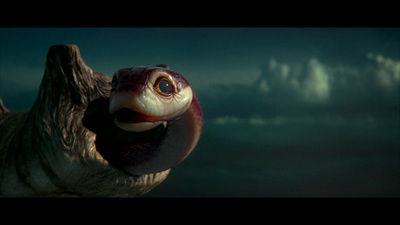
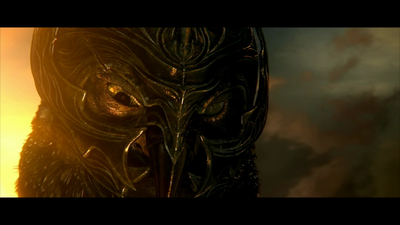
In these example images, the detail on the beaks, helmet and feathers is correct for the true size of these owl species. They are lensed and framed as though they are of nominal human scale, which helps connect the viewer to the characters.
Atmosphere
"It's a very hazy world these owls inhabit, isn't it?" said someone in one of our early dailies review sessions. Well, yes it is...
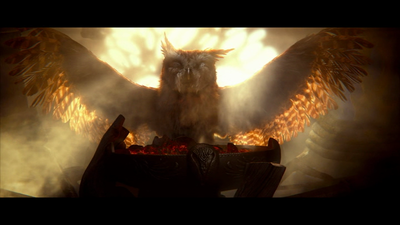
Atmospherics were considered vital to create a sense of depth and scale in the lighting of all environments, interior as well as exterior, and was conceived as either atmospheric dust, smoke, water vapour or free floating motes of dust, often a combination of these. Often atmosphere levels were exaggerated well beyond realistic levels – a macro shot of a bird’s foot which would cover about 5 cm in reality, still had a sense of atmospheric falloff to allow for a more dramatic silhouette. Additionally, the atmospheric effects provided speed markers against which to judge the motion of the owls and camera in flying sequences, and specific “speedmist” was generally added per shot to enhance this.
Additionally, atmos provides a justification for "God Rays", a phenomenon that lighting artists and cinematographers embrace not just because they look great, but also because they provide the opportunity to guide the eye of the viewer to important action, or provide a backdrop against which to stage action as a silhouette. Stereoscopically, rays can project into theatrespace "out of" the screen or conversely project from the audience POV "into" the screen. In conjunction with particulate effects such as raindrops this can be pretty immersive.
Atmos can cloak objects, characters or action and allow control over how these are revealed....the figure looming from the mist, the dark mass that resolves into a detailed environment, etc.
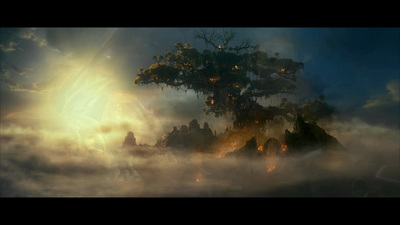
In the sequence where our heroes first sight the Ga'Hoole Tree the legendary place is revealed gradually using silhouette and cloaking with atmosphere. This builds tension and anticipation, and reinforces the huge size of the Tree. The total effect is to convey the sense of wonder that Soren feels coming to this place, the rumoured existence of which inspired his childhood dreams.
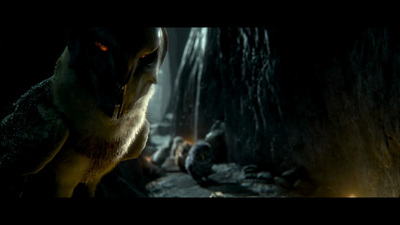
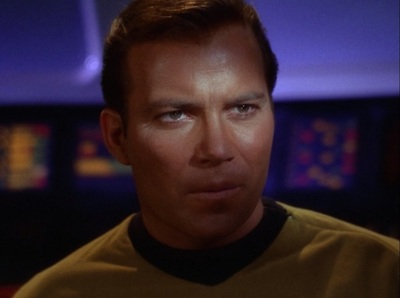
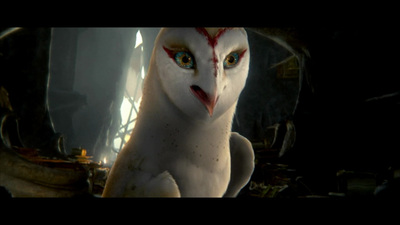
In the sequence where the brothers fall from the family tree and - as yet unable to fly - are helpless on the ground and at the mercy of a marauding Tasmanian Devil, atmosphere plays a key role in establishing a sense of scale (reinforcing how diminutive Soren and Kludd are in a world that is now frightening and cold, in contrast to the warm, safe Family Hollow). The gloom of the night is offset by bright moonlight captured in the mist and hot specular pings from the moon off wet leaves. Illuminated atmos is used to stage action, creating strong silhouettes for a clear read of the staging and serving to highlight the arrival of the presumably "rescuing" owls. These owls are kept mysterious by a partial reveal using a "Shatner light" (a bar of light across the eyes as used for shots of Captain Kirk in the original Star Trek) - they are not fully exposed for what they really are until the next sequence:
Landscapes
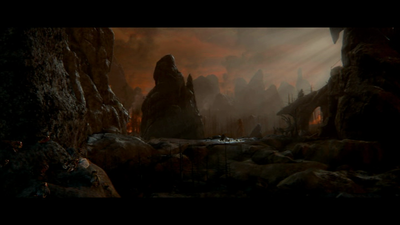
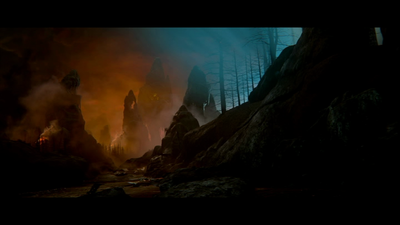
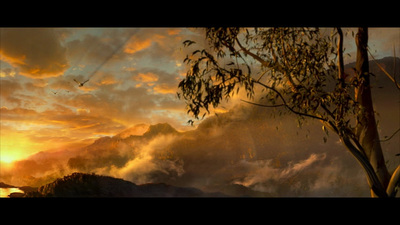
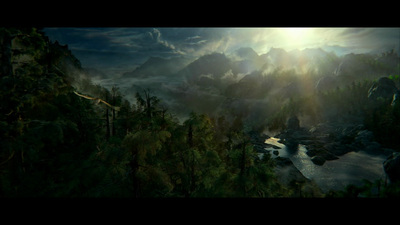
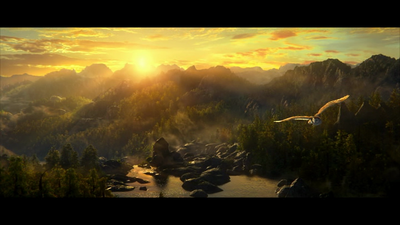
The Tasmanian wilderness was the inspiration for much of the landscape of the film, and before production started a research trip was undertaken by Production Designer Simon Whiteley, who took thousands of photographs and shot a lot of video, including from the air, to provide reference imagery.
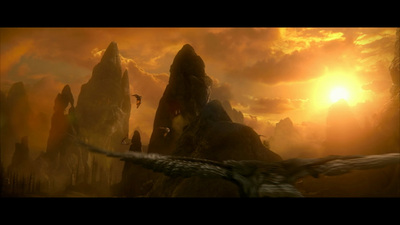
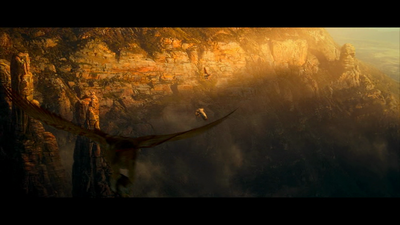
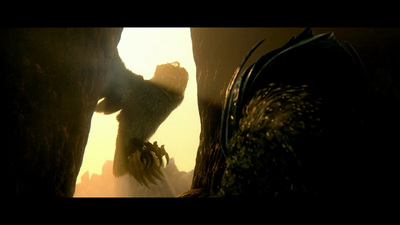
If there is one overriding principle that we followed when lighting our landscapes, it was to keep the angle of the sun or moon low and preferably raking across the landscape towards the camera, ensuring that landscape features are given shape by the lighting and that mist and smoke are backlit, helping to layer the image in depth and provide opportunities for terrain silhouette.
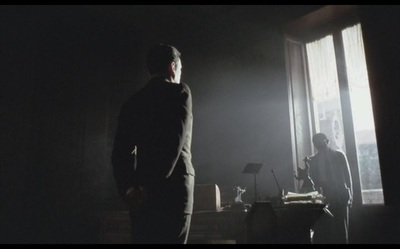
Chiaroscuro
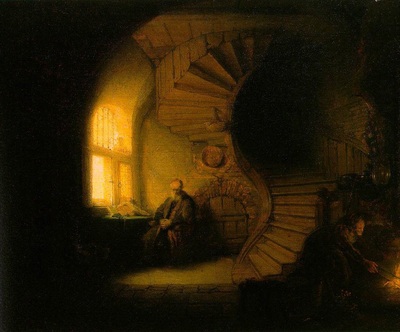
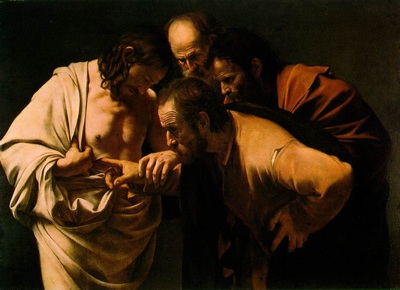
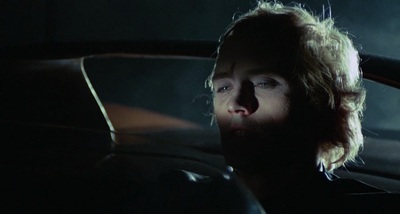
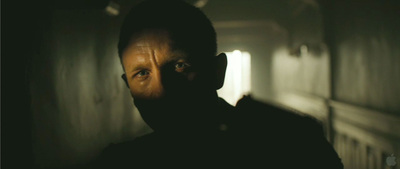
The emphasis of contrast between light and dark in an image to give a volumetric sense to objects represented in two dimensions is called "chiaroscuro", an Italian term that translates as "light-dark". Renaissance painters such as Caravaggio and Rembrandt were proponents of the technique, and in film it is characteristic of the film noir aesthetic. More broadly, the technique encompasses explorations of light and dark on surfaces and the veiling or obscuring of objects or characters by shadow for dramatic effect. Modern cinematography masters such as the late Gordon Willis (the "Prince of Darkness") and Roger Deakins employ the technique to great effect in their work.
The emphasis of contrast between light and dark in an image to give a volumetric sense to objects represented in two dimensions is called "chiaroscuro", an Italian term that translates as "light-dark". Renaissance painters such as Caravaggio and Rembrandt were proponents of the technique, and in film it is characteristic of the film noir aesthetic. More broadly, the technique encompasses explorations of light and dark on surfaces and the veiling or obscuring of objects or characters by shadow for dramatic effect. Modern cinematography masters such as the late Gordon Willis (the "Prince of Darkness") and Roger Deakins employ the technique to great effect in their work.
Chiaroscuro principles applied in Legend of the Guardians lighting:
Rim and "Shatner" Light
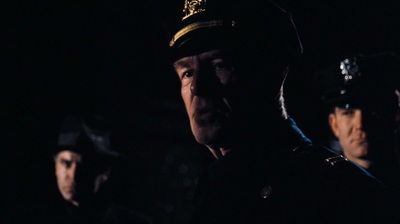
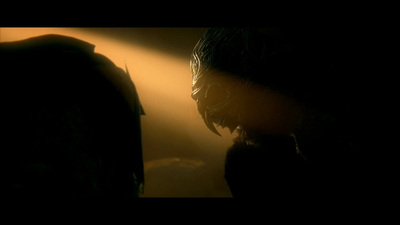
Wherever possible we avoided lighting characters (or anything else) frontally as in general frontal lighting reduces the opportunity to volumetrically model objects and flattens the image as a consequence. Where it was unavoidable, we offset the frontal lighting with a more dominant rimlight for visual interest. Sometimes we employed a "Shatner" light - as I mentioned elsewhere this is the nickname that our Art Director Grant Freckelton coined for a bar of light across the face or eyes of a character such as was somewhat over-used on the original Star Trek for Kirk closeups.
Wherever possible we avoided lighting characters (or anything else) frontally as in general frontal lighting reduces the opportunity to volumetrically model objects and flattens the image as a consequence. Where it was unavoidable, we offset the frontal lighting with a more dominant rimlight for visual interest. Sometimes we employed a "Shatner" light - as I mentioned elsewhere this is the nickname that our Art Director Grant Freckelton coined for a bar of light across the face or eyes of a character such as was somewhat over-used on the original Star Trek for Kirk closeups.
Care is needed when using a Shatner light - it is easy to descend into cheesy cliche (and we did this deliberately on The Lego Movie). The bar of light can be more or less sharply defined, or even abstracted as a soft pool. The general rule is, the sharper the dramatic emphasis, the sharper the Shatner. Whether in the sharp or subtle form, this technique allows a clear read of a dramatic moment without resorting to a full frontal light, and coupled with rim lighting can be visually pleasing.
Skip Lighting
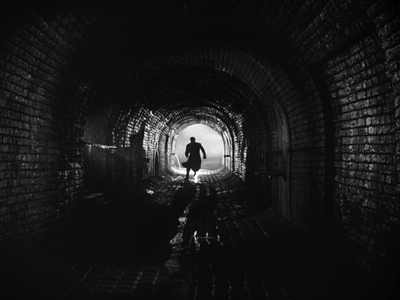
Skip lighting is the use of reflective surfaces to "skip" light towards the camera from a distant source. The shot in the sewer from "The Third Man" above is a prime example of how this technique works to add texture and interest to a frame that is predominantly dark.
Skip lighting is the use of reflective surfaces to "skip" light towards the camera from a distant source. The shot in the sewer from "The Third Man" above is a prime example of how this technique works to add texture and interest to a frame that is predominantly dark.
Silhouette
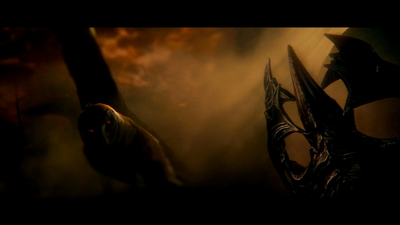
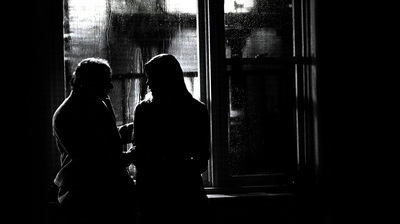
It is an axiom of animation that performance should be readable as a silhouette, and we kept this in mind throughout the film's production. It's easy for a character to get lost against a background of similar tonal values, particularly in photorealistic work where shapes and textures are often more organic than they are with a graphic approach. Establishing silhouette through contrast of tone and/or colour allows a clear read of action, and working in conjunction with rim lighting and translucency creates images of visual complexity that are not confusing.
Silhouetting objects or characters can also create striking and mysterious images - sometimes this may involve shrouding objects in darkness for dramatic purposes while using silhouette to avoid the image becoming non-specific and mushy.
These screengrabs from the final battle between Soren and Metalbeak illustrate the principles of silhouette:
Lighting Eyes
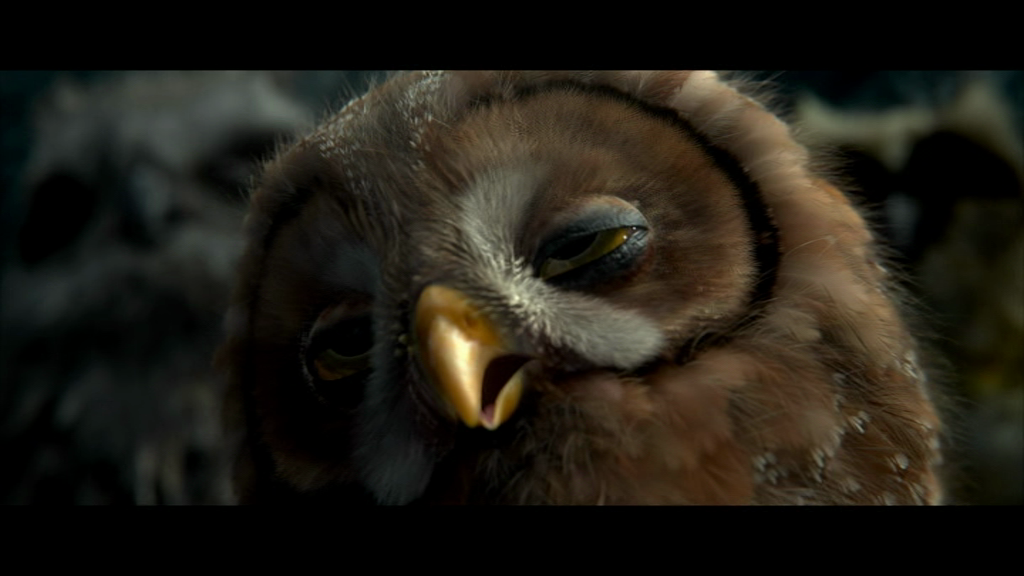
Expressive eyes imbue characters with life and convey their emotions to the viewer. Eyes that convincingly react to the environment assist with the suspension of disbelief that is necessary to accept that photorealistic creatures belong in the frame.
With these things in mind we prepared a library of environment maps for use in our lighting setups, where they were used to provide information to reflect in eyes and other reflective surfaces. Many of these environment maps were High Dynamic Range or HDR images obtained photographically, and I spent some cold dawns in various forests and on sea cliffs around Sydney to capture spherical panoramas using techniques similar to those described here. Other environment maps were derived from artwork that was created for the film or from renders that had already been done of environments in the film.
We also had lighting tools that enabled us to position highlights in eyes in response to lighting cues from the environment, such as flaming torches.
Soft Lighting
Soft lighting ("high key") environments such as are created by overcast days require consideration to avoid flat and uninteresting visuals. For photorealistic lighting styles it is important to adhere to the lighting principles established earlier in this article without allowing them to overwhelm the desired ambience:
Here is an example sequence from "Legend of the Guardians" in a swamp environment, overcast and gloomy, where all these techniques are leveraged to maintain visual interest and accentuate important moments:
Soft lighting ("high key") environments such as are created by overcast days require consideration to avoid flat and uninteresting visuals. For photorealistic lighting styles it is important to adhere to the lighting principles established earlier in this article without allowing them to overwhelm the desired ambience:
- Modelling characters and other important objects in the scene through contrast - even though in a high key scenario contrast is by definition limited it is still possible to impose a subtle variation of lighting intensity to give shape.
- Ambient occlusion - a method of attenuating the brightness of light at a shading point based on the proximity of nearby objects or geometric folds in an object (such as creases) - helps in high key lighting scenarios to create shape and contrast.
- A rim light can be added to assist separation as long as it is not too dominant for the lighting scenario.
- Textural and colour contrast can be used against a background that is predominantly of a complementary colour - for example the generally warm feathers of our owls contrast in this way with the cool foggy background of the Swamp environment. The fog attenuates both the colour and texture of the environment with depth, allowing foreground objects to stand out thanks to the less attenuated visual complexity of their textures and their denser and richer luminance values and colour.
- Atmospheric layering provides (as usual) silhouetting opportunities, as does careful framing of action and poses, for example against the sky or a bank of fog.
- A shallow depth of field - appropriate for a low light scenario such as an overcast day in a swamp - assists with providing separation via blur.
Here is an example sequence from "Legend of the Guardians" in a swamp environment, overcast and gloomy, where all these techniques are leveraged to maintain visual interest and accentuate important moments:
Lighting of...and with...FX
LOTG is a very FX-heavy film - there is scarcely a frame of the movie that is unaffected by FX work of some kind, from atmospheric effects such as mist and smoke to torrential rain, raging forest fires and pulsating electromagnetic "fleck fields".
Close liaison between the FX and Lighting/Comp departments was essential as at times lighting affected the FX and at other times FX informed...or generated...lighting, and at all times integration of FX elements was a technical and creative challenge. A particular challenge was the integration of characters and other elements into volumetric effects such as clouds and smoke, and this resulted in us developing a Deep Compositing workflow, which was enthusiastically embraced by our compositing team supervised by Julien Leveugle.
Deep compositing allows for the utilization of depth and opacity (deepopacity) and sometimes including colour information (deepcolor) generated at render time as Arbitrary Output Variables to accurately integrate elements that intersect at depth with varying opacities, where this would be impossible with standard 2D compositing techniques.
(Contrary to some things I have read on the internet we did not "invent" deep compositing, or ever claim to have invented it, as a solo effort. We did create our own implementation based on concepts developed and papers written and shared by others - in fact, there seemed to be a confluence of theory and practice from various companies within the industry at around the same time. The bulk of the development at Animal Logic was done by Chris Cooper and Johannes Saam, who shared an Academy Sci-Tech Award in 2013 for their contributions to the development, implementation and adoption of Deep Compositing in the industry. I think Colin Doncaster articulates the collaborative nature of the process pretty well in the video of the awards presentation).
Passive FX
"Passive" FX (in a lighting sense) receive light in the scene. For solid FX such as particulates like dirt that is kicked up by characters, the familiar rules of lighting apply - ensure shape and legibility of the substance in proportion to its importance to the story. For example, dirt that is randomly kicked up by characters as they run about needs to be integrated into the scene in a lighting and compositing sense, but dirt that is kicked up as part of a story point - such as the dirt Digger kicks up in order to bury himself in the swamp scene above where he is introduced as a character needs special treatment. In this case the amount of motion blur applied to the dirt at render time was reduced to allow a clearer "read" of the dirt particles (think of the gritty technique pioneered in films such as "Saving Private Ryan" where the shutter angle of the camera was narrowed to reduce exposure time and hence reduce the motion blur smear of flying dirt from explosions, resulting in a crisper representation of that effect). Attention was also paid to the compositing treatment of the dirt so that it apparently received the same lighting as that generally established in the scene and didn't seem to be tacked on top of the image - basic compositing techniques such as eroding the edges of the alpha channel of the dirt element were used to assist integration.
For effects such as smoke, mist and rain, the lighting approach is the same as for physical cinematography, which is to say backlight these elements in order to read them clearly and for the most aesthetic results. Rain barely reads at all, particularly when motion-blurred, if it is not lit from behind, so even if a keylight direction had been established that required frontal lighting in a shot or portion of a shot, a backlight was always added to the particulate FX pass to make it legible.
In this example sequence, Soren flies in a rainstorm. He is being tested by his mentor, Ezylryb, who wants to ascertain Soren's ability with "gizzard vision" (the Ga'Hoole equivalent of The Force). This is an important story point, as we need to establish that Soren has the potential to be a Master of GizViz, able to visualize currents and eddies in the air that he can leverage for masterful flying. The phenomenon that Soren can see is represented as a vortex in the atmosphere that manifests in its effect on the rain. So, from a lighting standpoint, backlighting of the rain elements is crucial. We used the lightning that surrounds us in the storm to accentuate the vortex, and permit the lightning to overexpose the frame in a rhythm that was predesigned in Editorial and Layout. In compositing we used Deep techniques for integration of the characters and effects, and floating point methods to handle the dynamic range of the images. The ultimate point was to dramatically underscore Soren's ability to visualize the air currents that flyers of lesser potential are unable to see.
Active FX
In a lighting sense, active FX are those which emit light into the scene. Often illumination that is apparently from FX sources such as flaming torches and candles is created using normal CG lights inserted into the scene. However, major effects such as the fleck field and forest fire required a different approach to lighting as the use of regular CG lights would not be convincing, and for these effects we used pointcloud-based lighting in Renderman. Basically this enabled us to represent our volumetric effects as clouds of points from which light could be emitted into the scene.
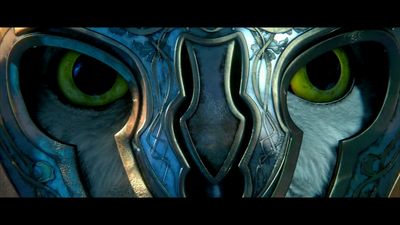
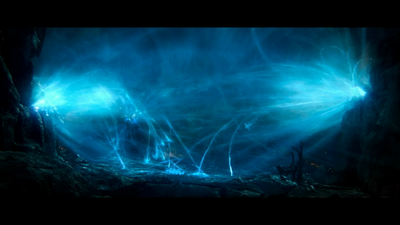
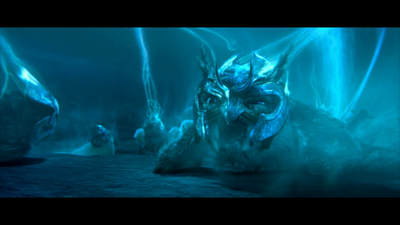
Here are some screencaptures showing fleckfield effects. The fleckfield is a magnetic field that is used as a kind of electronic warfare device that disrupts the "gizzard" of owls, disorienting and disabling them. For dramatic purposes it needed to be strongly visualized and was developed as curves that could emit particles that could then be represented as clouds of points that could in turn be induced to emit light. Needless to say a lot of work was also done in compositing to integrate the fleckfield and make it glow convincingly. Non-pointcloud lighting was also used in these sequences as were environment maps, the effects of which can be most clearly seen on the armour of the owls and in their eyes.
Soren dives into and flies through a forest fire in a desperate bid to destroy the Pure Ones' infernal fleckfield device. This is another "gizviz" sequence where Soren's superior and preternatural ability to visualize aircurrents like a Zen flying master had to be emphasized through the FX work and lighting.
The firestorm was designed with a tool developed under the guidance of FX Supervisor Johnny Han that enabled fast iterations of proxy shapes and curves to visualize the position and shape of the flames in relation to the environment and character. The actual simulation was done with a proprietary fluid simulation tool developed by our awesome R&D people that could also be iterated reasonably quickly and could handle large scale simulation thanks to the incorporation of domain decomposition which allowed distributed simulation - that is, the simulation could be handled by multiple machines on the render farm. The creative and technical effort for the firestorm shot work was led by Sebastian Quessy whose work was acknowledged by nomination for an Annie Award.
Sequences such as this one and the rainstorm are best viewed in stereoscopic (3D).....
(I'm still in awe of the work my FX and lighting & compositing crew did on this film and this sequence is perhaps the pinnacle of what they achieved. I might as well point out also the Character FX work that our small but dedicated crew of CharFX TDs led by Graham Hopkins did - pretty much every single shot in the film has at minimum feathers ruffling in the wind, but these mega FX sequences required true artistry as feathers reacted to forces, collisions, deformation by armour etc.....great work).
Digital Intermediate
As I mentioned in the Lego Movie article on this website, the Digital Intermediate process was integral to our workflow. "Grademattes", some of which were set up by Surfacing to automatically generate when we rendered (for example eye mattes subdivided into pupil and sclera components by colour), some of which were generated upon demand, enabled granular control over the grading process.
We would often stop iterations on a shot in Lighting or Comp knowing that we had leeway to finesse the shot in DI using the grademattes. In DI we could iterate faster, and in addition to balancing colour and density across sequences we could, for example, choose to emphasize a particular character or other object of interest in any particular shot.
Lensing, Layout and Stereoscopic
Lighting is one half of cinematography - the other half is camerawork. I'm not going to attempt to write about the lensing or stereoscopic work done on Legend of the Guardians as that has been covered elsewhere, as indicated below.
Previs and Lensing Director David Scott worked closely with Director Zack Snyder to establish the camerawork and staging of the film. David has plenty of insights to offer on the process in this article and this article, amongst others that can be found on the internet.
Stereoscopic Supervisor Tim Baier did a stunning job of implementing the stereoscopy of the film. Tim is passionate about 3D cinema, and his photographic and video stereo work is pretty amazing, particularly his aerial stereoscopy of the landscape around Arkaroola in South Australia, shot from his ultralight aircraft. There is an informative section of this article called "Living in 3D" that covers what I would write here. It's a testimony to the excellence of Tim's work that CinemaBlend, who maintain a section of their website devoted to assessing the worthiness of the stereoscopy of 3D films, scored LOTG as a perfect 35 out of 35 in this review. I'm not one to poke a stick in a hornet nest, but I will direct the reader's eyes to the Final Verdict section of the review.......personally I just feel proud that our film was mentioned in the same breath as the other.
